I GOT BORED YESTERDAY AND TOOK SCREENSHOTS OF MY CELL SHADE PROCESS... Take a gander if you're interested, hahaha. :^D I was going to post this to my portfolio as a tutorial, but I didn't feel like putting text on the images... so it's just gonna go in here, bro.
1)
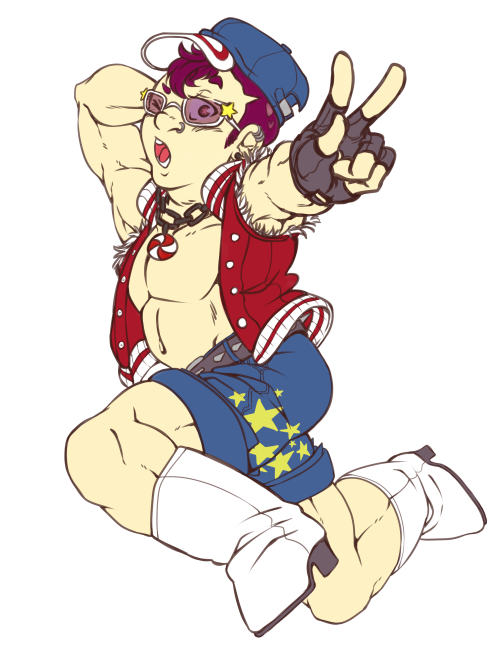
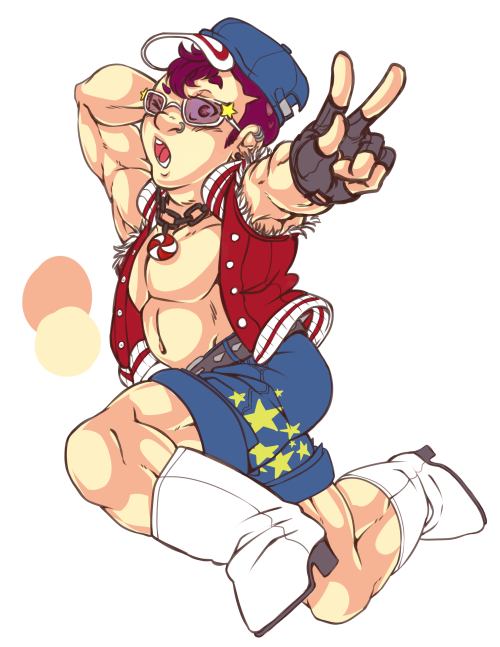
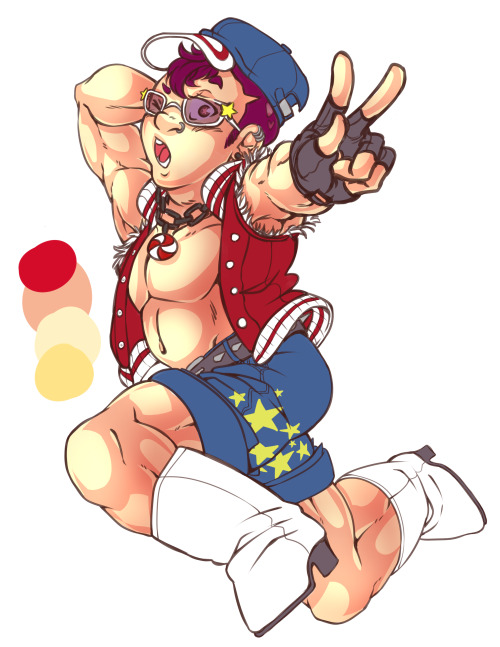
I decided to use this drawing, since the line art and base coloring was already done. ;o I'm only coloring the skin here, though.
But yeah, I start with the line art and base colors all done, before I start shading.
2)
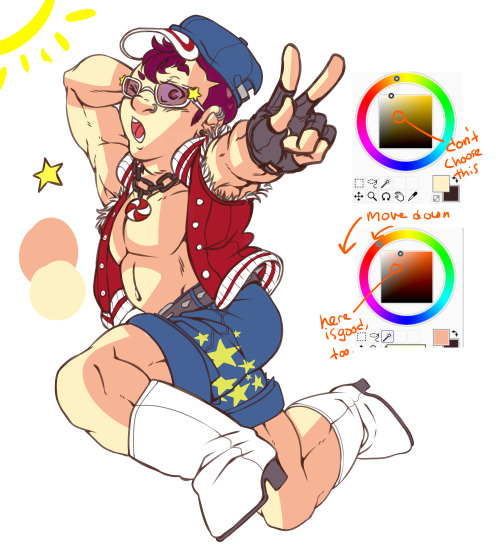
Then I choose the shadow color. I generally make the shadows a cooler color (ie: going toward blue), because I think it helps create some boldness (?) between the shadow and base. :U I just really like dark shadows, though. In general, I try to go as dark as possible without it looking wonky. Like this:
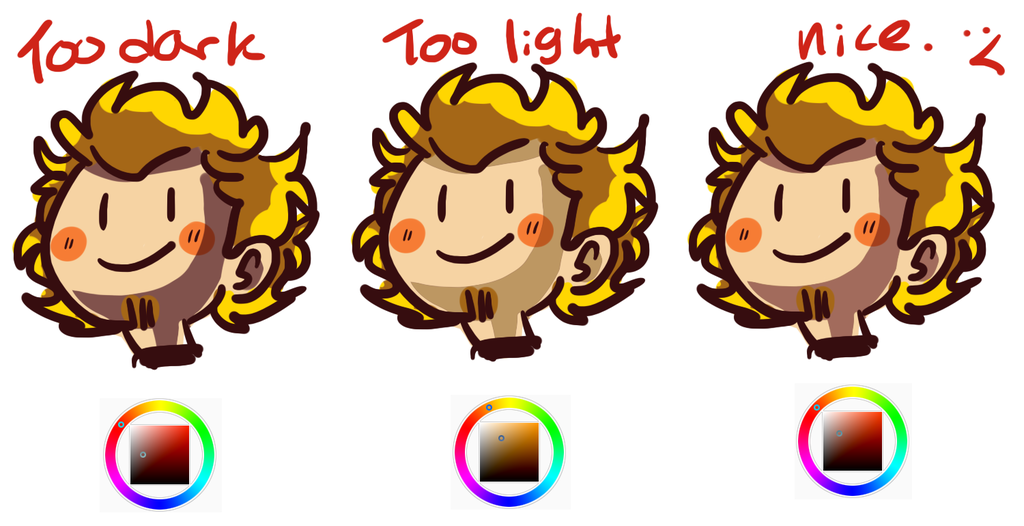
O. J.'s a kind of weird exception to this, though, because he has a kind of light and yellowy skin tone... for some reason, a pinkish shadow looks kind of nice, haha. xD;
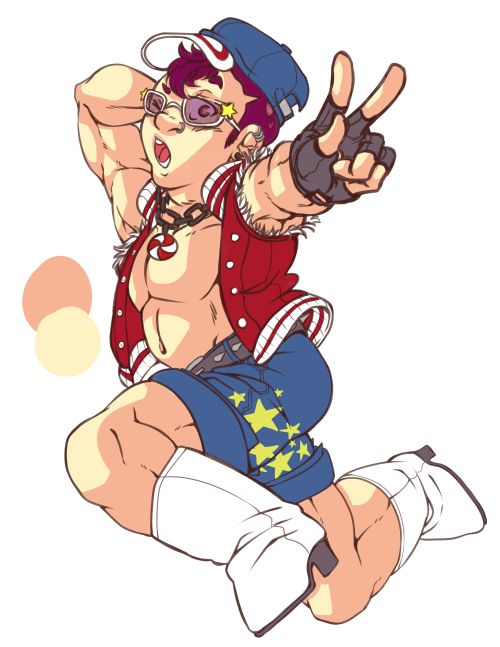
Then I decide on some sort of light source... usually it's just the top corner of whatever way the character is facing, haha. xD;; LAZY.
Then I start blocking in shading. I'M REALLY SLOPPY, AT FIRST. I basically just take a fat pen size and draw blobs along the opposite side of the light source. This is basically just so I get a general idea of where the shadows are supposed to go.
3)
After drawing those great blobs, I use a smaller brush to add more detail/smaller shadows, and also round out some of the stiffness from the earlier step.
This step kinda looks really similar to the previous, but there's usually more to do here if you're shading clothes;;; You can see the changes most easily in his arm on the left.
4)
AFTER THAT IS THE ACTUAL TIME CONSUMING STEP...
Here, I use the eraser to shape the shadows into what they're supposed to look like. :U I also use the pen again if I erase to much, but I'm mainly using the eraser here.
One main thing I do at this step is use the eraser to add highlights (backlights? idk.)
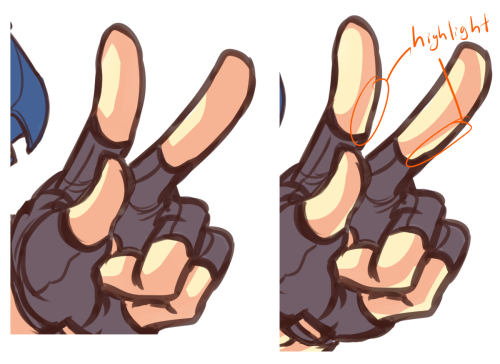
Idk. I just like it 'cause it makes things ~*~look cool~*~
When I do these highlights, I try not to make the highlight solely follow the line art, but rather taper into the line art. :Y
And there's also just other general detail stuff that goes on.
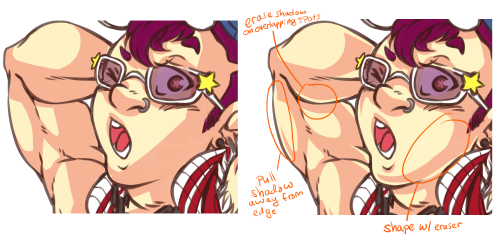
Erasing shadows on overlapping parts is the main thing here, I guess. I think it helps things look cleaner, since you can emphasize what's on top of what by giving the top item a highlight. (? hope that made sense. xD;)
Once this is done, the cell shading is basically finished. I like to add some airbrushed layers on after, though, 'cause LAZY SHADING IS KOOL.
5)
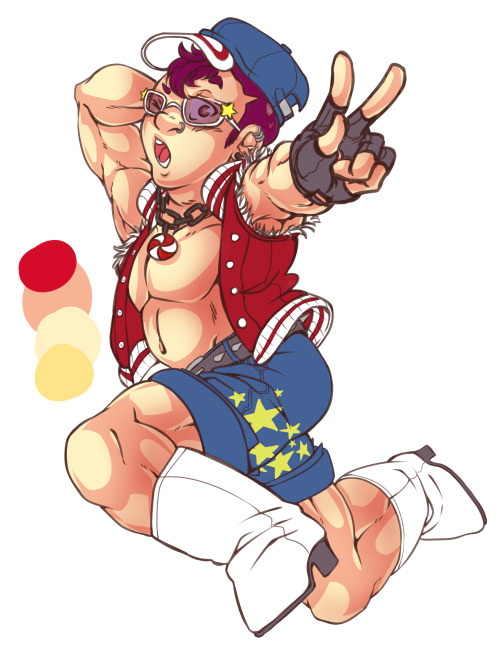
Yeah, I don't have a steadfast rule for choosing the airbrush shadow. The layer's on multiply, so it's going to be darker no matter what. :U I chose a saturated red, here, 'cause darker colors just made O. J. look dull and weird.
BUT YEAH, on a multiply layer, I use the airbrush to blob in vague shadow shapes. It's basically like the first step, but with the airbrush instead of the pen tool. xD;
6)
Then I make a luminosity layer and choose some light color for the final highlights. (usually I choose something lighter than the skin tone, but for some reason it was darker this time;;; IT'S ALL ON LUMINOSITY, THOUGH, SO IT'S NOT LIKE IT MATTERS HAHA.)
But uh, yeah. I just use the airbrush on the spots where the shadow airbrush didn't hit.
AND THAT'S IT! THAT'S HOW I CELL SHADE. Pretty straightforward, imo. Sometimes blocking in the shadows is confusing b/c I won't understand where they go, but AS LONG AS SOMETHING IS PUT DOWN, IT LOOKS OKAY IN THE END.
/horrible advice
Anyway, yeah. Thanks for reading, hope it was interesting enough. :^D